 Then click on one side of the
line anywhere you want to, then click on the other side of the line anywhere you
want to.
Then click on one side of the
line anywhere you want to, then click on the other side of the line anywhere you
want to. 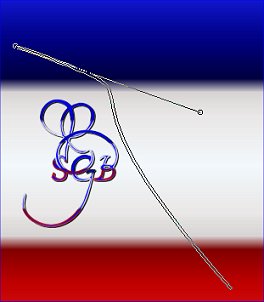 .
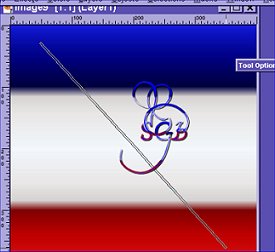
.5. Now,
pick a spot on your canvas and draw a straight line. Do
not click, just lift your mouse up.
Then click on one side of the
line anywhere you want to, then click on the other side of the line anywhere you
want to. .
You will notice
that the line will fill in. This is because I left both the fill and the outline
with a color.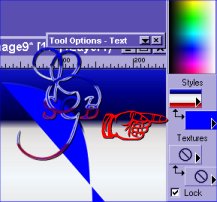
6. Ok now,
just start playing with your Bezier curve and making some more lines anywhere
you want to. I think it would be fun to change the line colors also as in
this example. 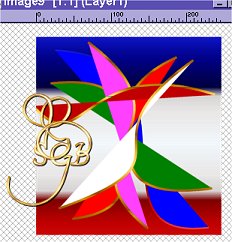 Wow, doesn't this look great without even doing anything to it?? Here's
what it would look like if you used the Simple Filter, Quick tile.
Wow, doesn't this look great without even doing anything to it?? Here's
what it would look like if you used the Simple Filter, Quick tile.  But, I just love to play with the kaleidoscope feature in PSP, so let's go to
step 7.
But, I just love to play with the kaleidoscope feature in PSP, so let's go to
step 7.
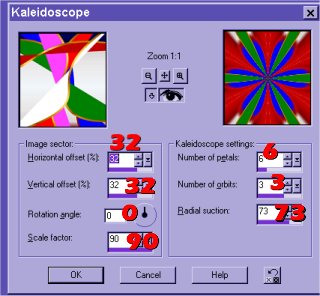
7. Resize your canvas to 200 x 200. If need be, change the settings on the bottom for the ratio.....just click it off. Sharpen. Then go to effects, reflection, kaleidoscope and use these settings.
 And here you have a wonderful
new tile to add to your collection.
And here you have a wonderful
new tile to add to your collection. 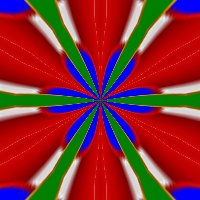
8. Ok, now you're on your own. Go back and play some. Choose new colors, reset your kaleidoscope settings. The very most important part of this tutorial is to learn to use the Bezier curve, so HAVE SOME FUN!!!
Tip: If
you want to use your finished tile as a background like mine on this page, just
add a layer, flood fill it with white then go to the layer pallet and lower the
opacity.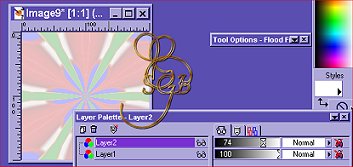
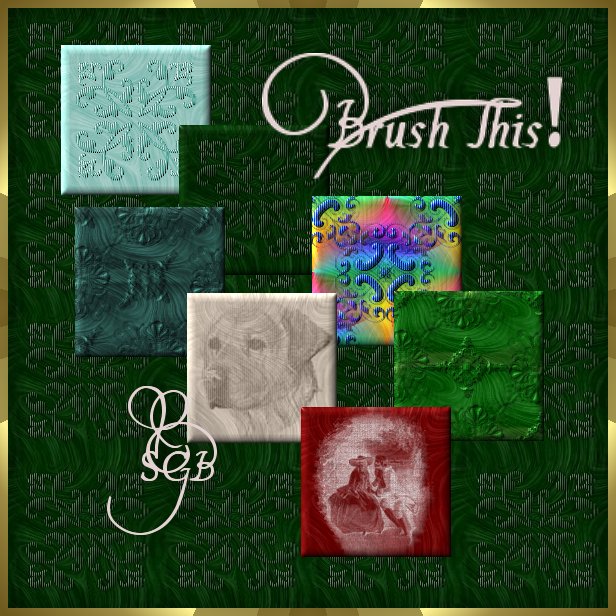
Here's some samples just using the one tile and playing around with kaleidoscope and colorizing:
Thanks for doing my tutorial. I hope you had fun and it stimulated your creativity!! If you have any questions, please drop me a line.

Patches aka Suzy-Q

©Susan's Graphic Boutique